Under Registrations you can see who has been registered to your Event.
Registrations
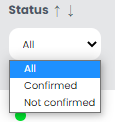
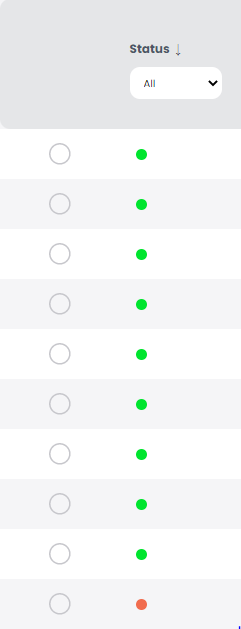
When you click on “Registrations”, an overview of all participants is displayed. In the status column you will see either a green or a red circle.
A red circle means that the person has not yet confirmed the invitation.
A green circle means the person has accepted the invitation and is participating in the event.
You can select directly under the status field whether all, only those who have confirmed or only those who have not confirmed are to be displayed.
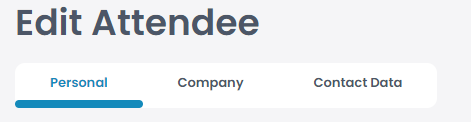
To edit an already existing participant you have to click on the small pencil symbol on the right side, now you can edit the attendee.
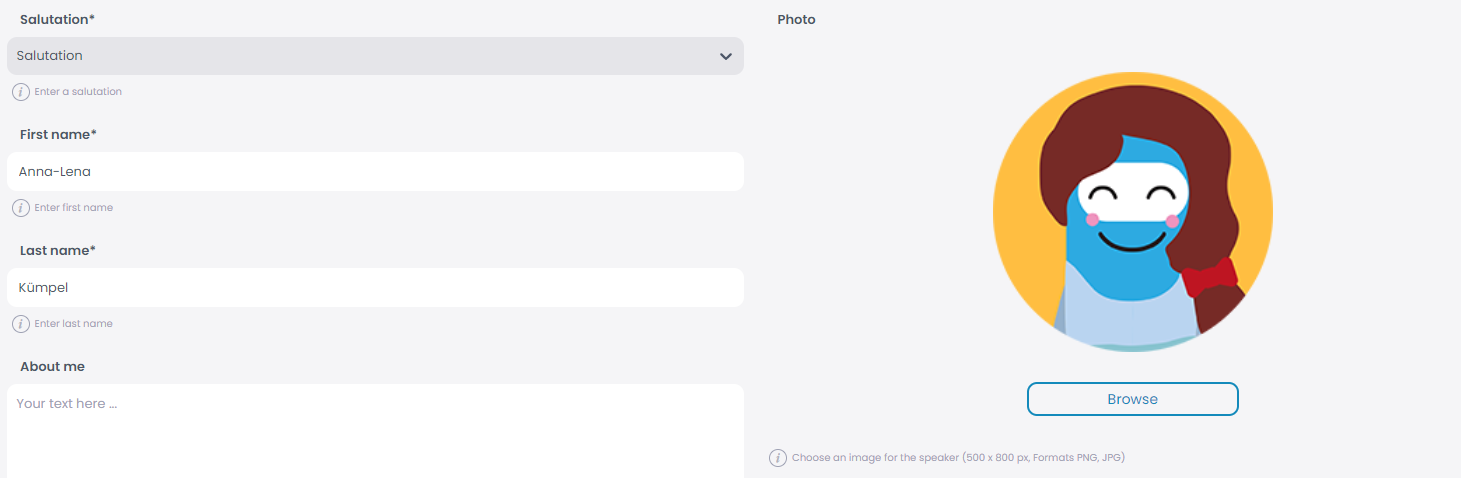
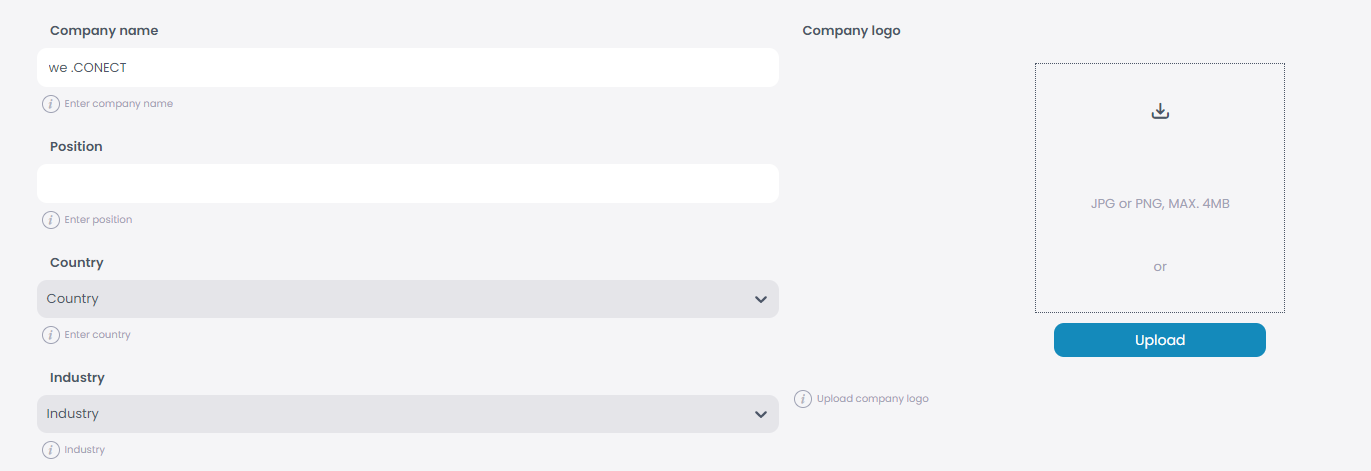
Edit personal information: Edit the personal information about the attendee such as the name, the photo, the role or the status.
Edit company information: Edit the information about your company.
Edit contact data: Edit the contact data such as the email or the phone number.
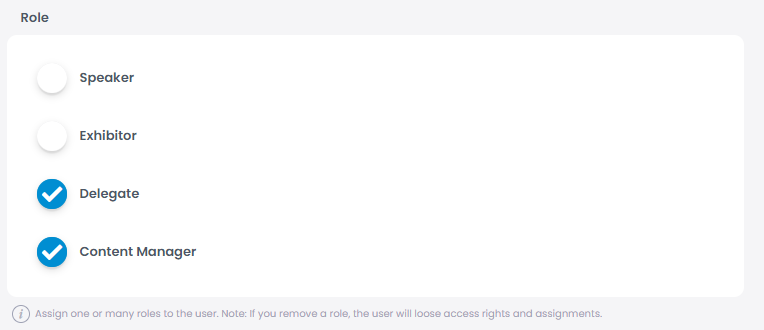
If you are on the edit view of the attendee, under personal information you can scroll down to find the “Role” field on the right side.
Here you will find the roles “Speaker”, “Exhibitor”, “Delegate” and “Content Manager”.
To change the role and thus the access and rights of a participant, click on the new role that your participant should have (for example Speaker).
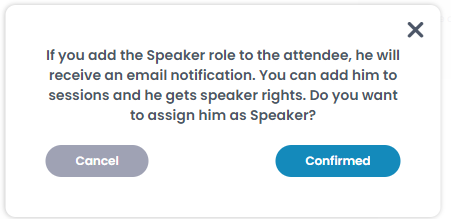
A small window will open, informing you that the participant will receive a notification e-mail and what new rights your participant will have.
If you want to remove a person from your event, but the person has already confirmed the invitation, you can deny the person access to the event. To change this, go to “Registrations”, choose the person and click on the small pencil symbol next to the person’s name.
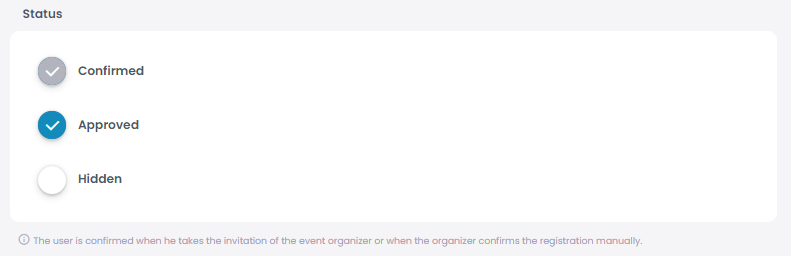
In the “Personal” section, you will find the “Status” field on the right side, once you scroll down.
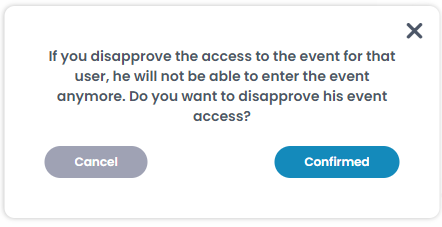
If there is a blue check next to “Approved”, the person is shown in the Attendee List and has access to the event. To change this, click on the blue check. Click on “Confirmed” in the small window that opens to deny the person access.
If you want to hide the person from the attendee list, you can clik on “Hidden”, this way the attendee will not appear on the frontend of the app.
If one of your participants tells you that they have not received an invitation to your event, or that they can no longer find it, you can send a new welcome email.
To do this, you need to go to the attendee list under “Registrations” and click on the small circle to the left of the person’s name, selecting the attendee.
Then several small blue buttons with different actions will open. Click on “Resent Welcome email” and your participant will receive a new email. The content of this email includes a link to the log in for the webapp.
If one of your participants informs you that he/she no longer knows the password or that it no longer works, you can send a password reset email.
To do this, go to “Registrations” and click on the small circle to the left of the person’s name. Then select “Send Reset Password Email”.
An email will be sent to the email address provided, where your participant can begin the password reset process.