To make your event even more appealing, there is the possibility to design your event individually. To do this, you need to go to “Event Setup” and click on the “Design” column at the top bar. The following page will open:
Design
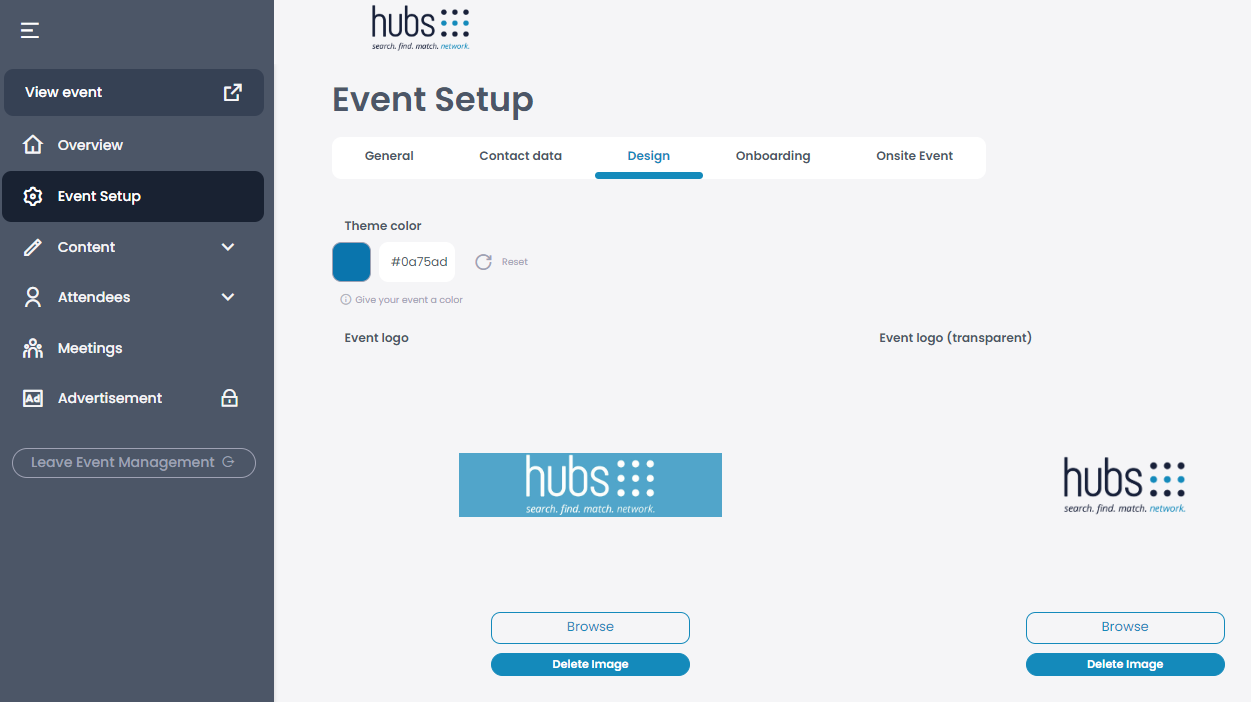
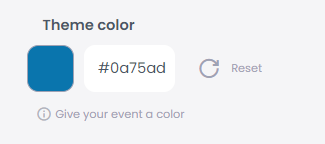
There are two ways to set a theme color. Either you click on the color box and choose one of the given colors, or you enter the desired web color code in the small box below the color palette and choose your own color.
If you click on the small “Reset” button, you can reset your color at any time.
Once all is done click “Save”.

One of the most important branding elements of your event is the logo. We recommend you to upload the following logos:
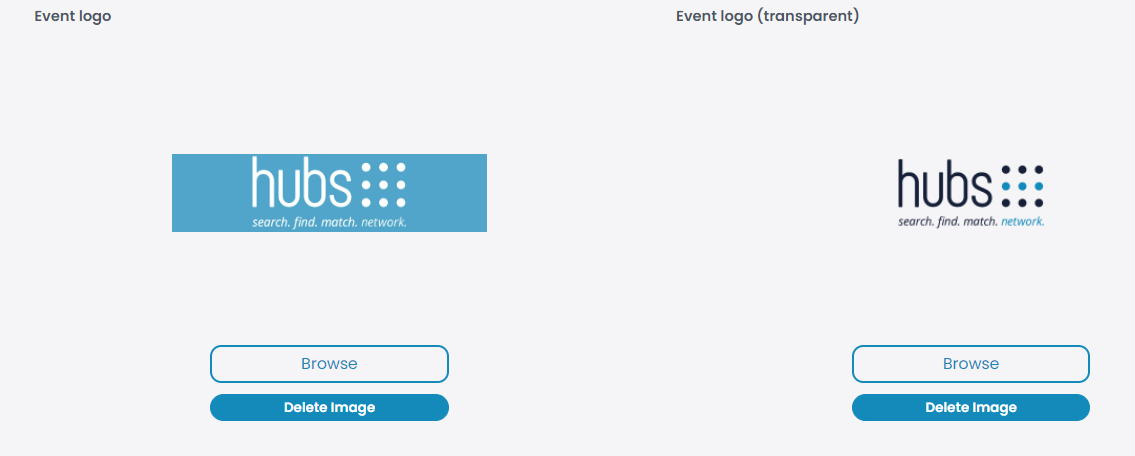
1. Event logo (JPG)
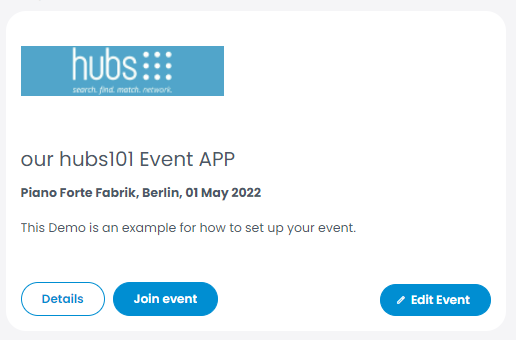
In order to upload the event logo go to “Event Setup” > “Design” and click on “Event logo”. There you can upload the logo of your event to be displayed on the event overview.
2. Event logo transparent (PNG)
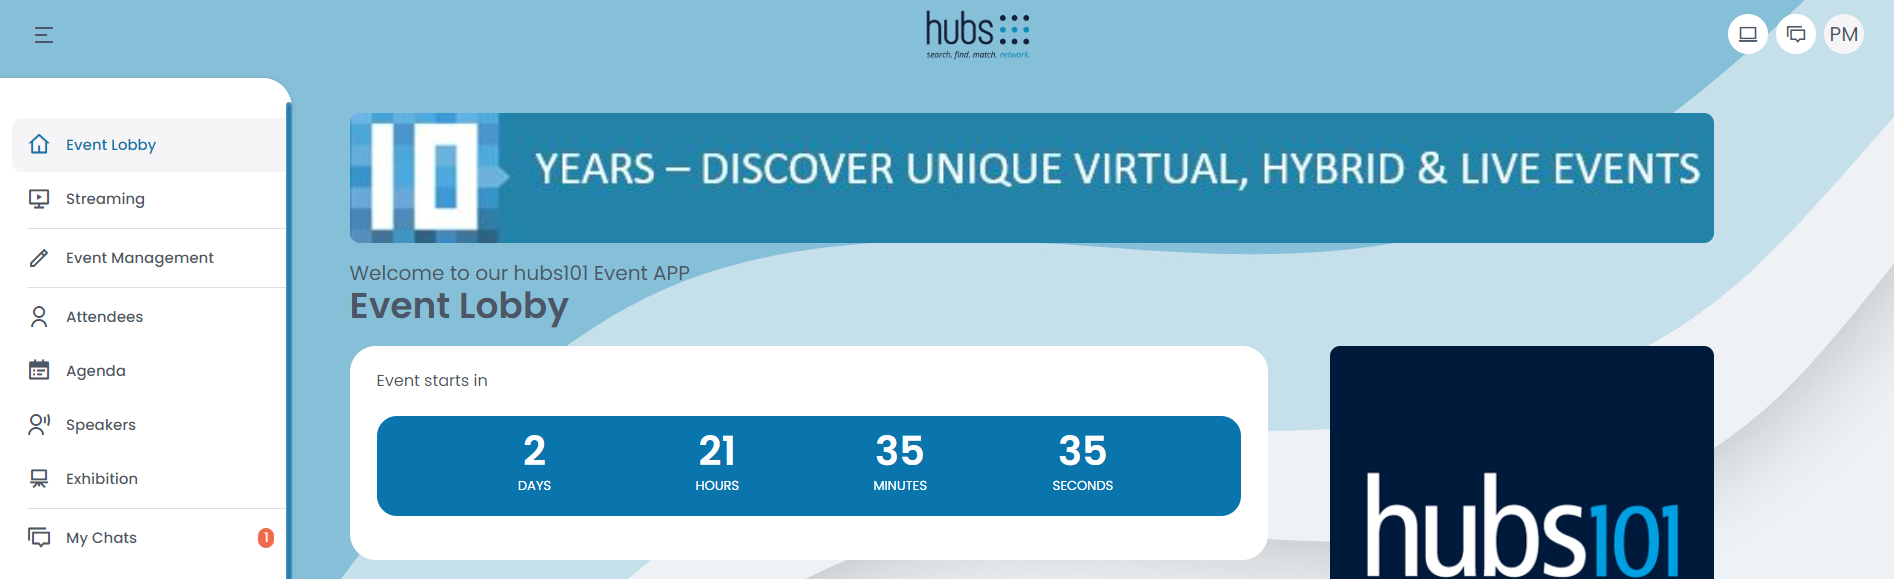
In order to upload the event logo (transparent) go to “Event Setup” > “Design” and click on “Event logo (transparent)”. The logo appears in the header and should have a transparent background.
The dimensions for the logo are: Width max. 1425px, height max. 350px. File size max. 100kB, format PNG
Once all is done click “Save”.
If you want to add a custom background go to “Event Setup” and then you need to select “Design”. You can choose a custom background color or image for your event on desktop, tablet and mobile view.
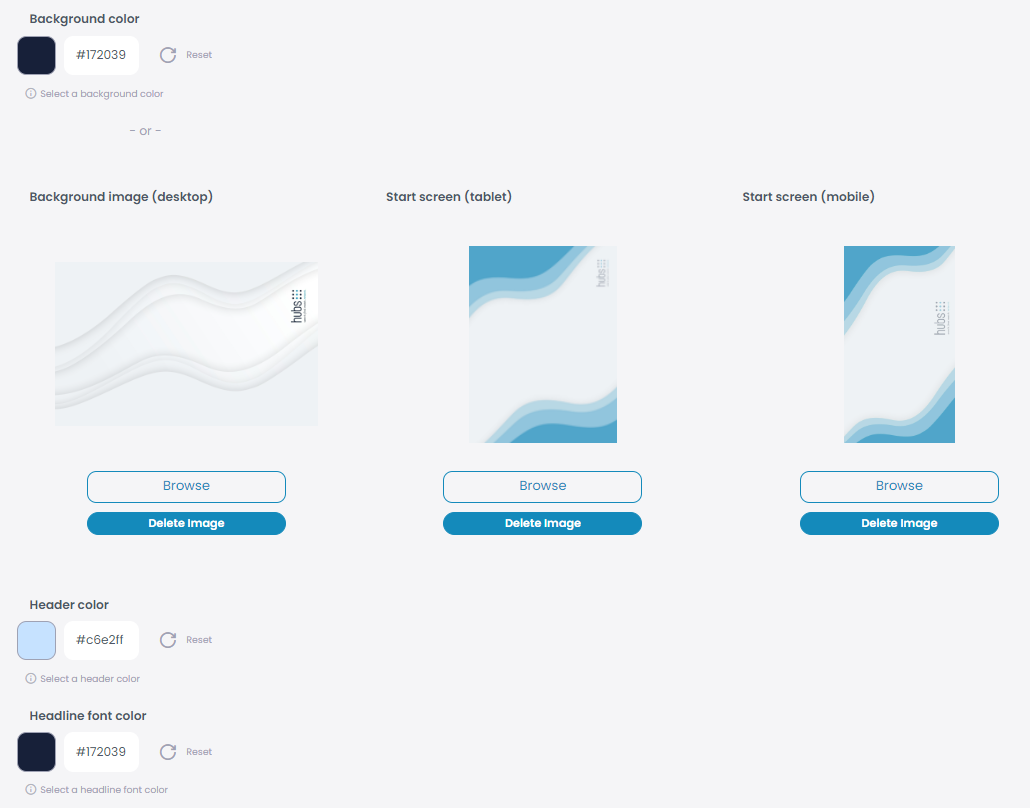
If you wish to set a custom background, you can add different images or choose new colors for the header, the font and the background, e.g. a dark background + white headlines.
To add a color, you either click on the color box and pick one of the given ones. Or you can enter the web color code in the small box below the color palette. If you click on the small “Reset” button, you can reset the color at any time.
If you want to upload an image you need to click on “Upload” or if an image has already been uploaded you need to click on “Browse”. You can choose any image from your device with a PNG-Format.
The measurements for the background image for the desktop version are: 2560 x 1600px, Size: max. 2 MB, Format: PNG
The measurements for the background image for the tablet version are: 2048x2732px, Size: max. 1,5 MB, Format: PNG
The measurements for the background image for the mobile phone version are: 1242 x 2208, Size: max. 1 MB, Format: PNG
Once all is done click “Save”.
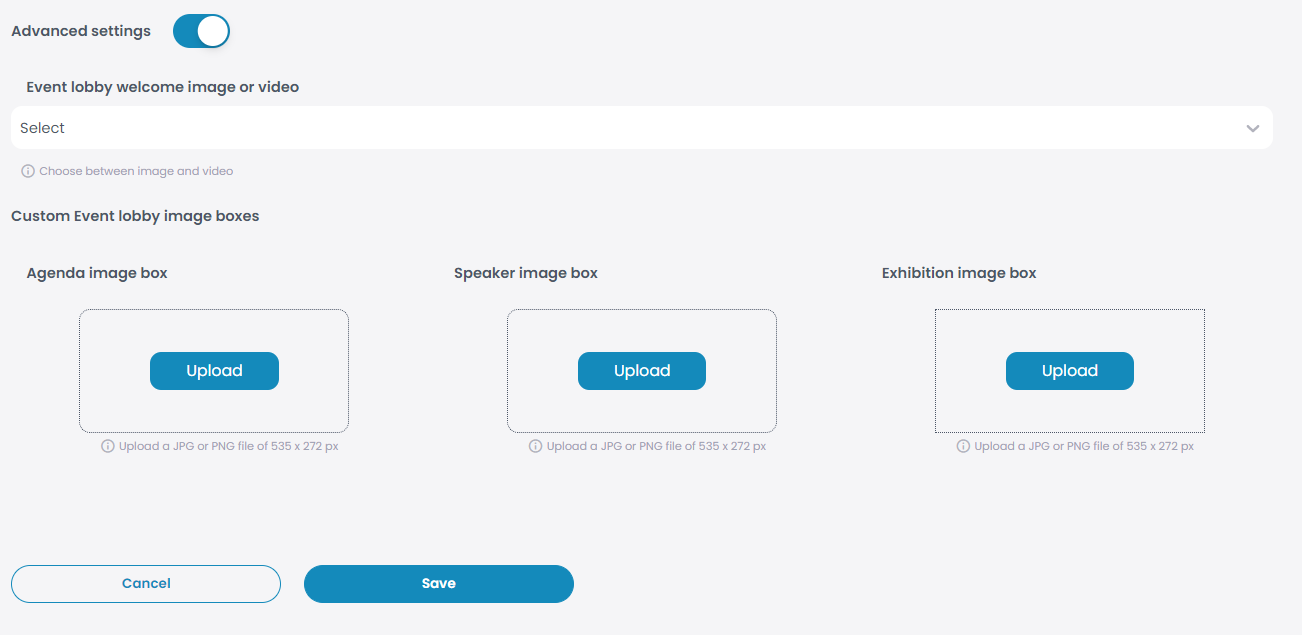
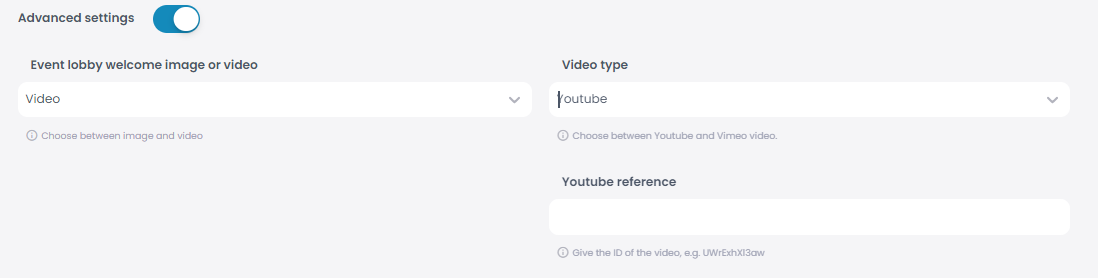
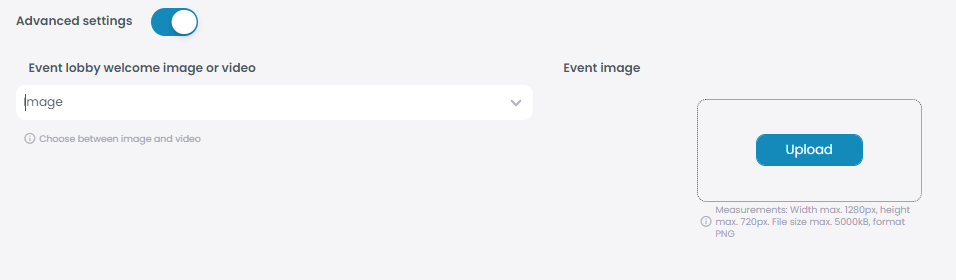
If you want to cutomize the Event Lobby go to “Event Setup” and then select “Design”, scroll down to the advanced settings, and toggle the small button to the right. Here you can add a video or an image to the event lobby, as well as customize the images boxes on the Event Lobby.
Event video or image:
Pick the type of audiovisual you wish to add. If you wish to add a video, select “Video” and pick the type of video (YouTube or Vimeo) and then set the link. If you wish to add an image, selecet “Image” and upload an image from your device.
Box images:
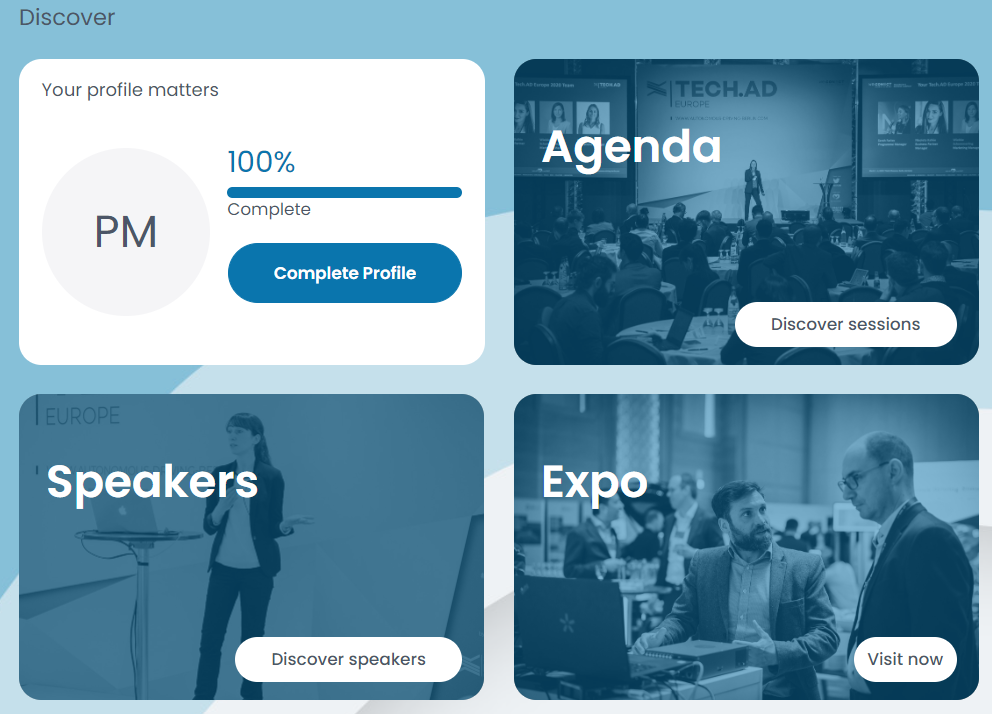
If you wish to customize the box wall on the event lobby, you can pick background images for the squares “Agenda”, “Speaker” and “Exhibition”. Just upload the picture you wish to add to the respecitve container.
Once all is done, click “Save”.