Under General you can set general information about your event, such as the event name, a description or the time at which your event should take place.
Go to “Event Setup” > “General” the first two fields are the “Event Name” and “Description”. Set a title and write a short sumamry of your event.
Make sure that all fields that are marked with a star are filled out.
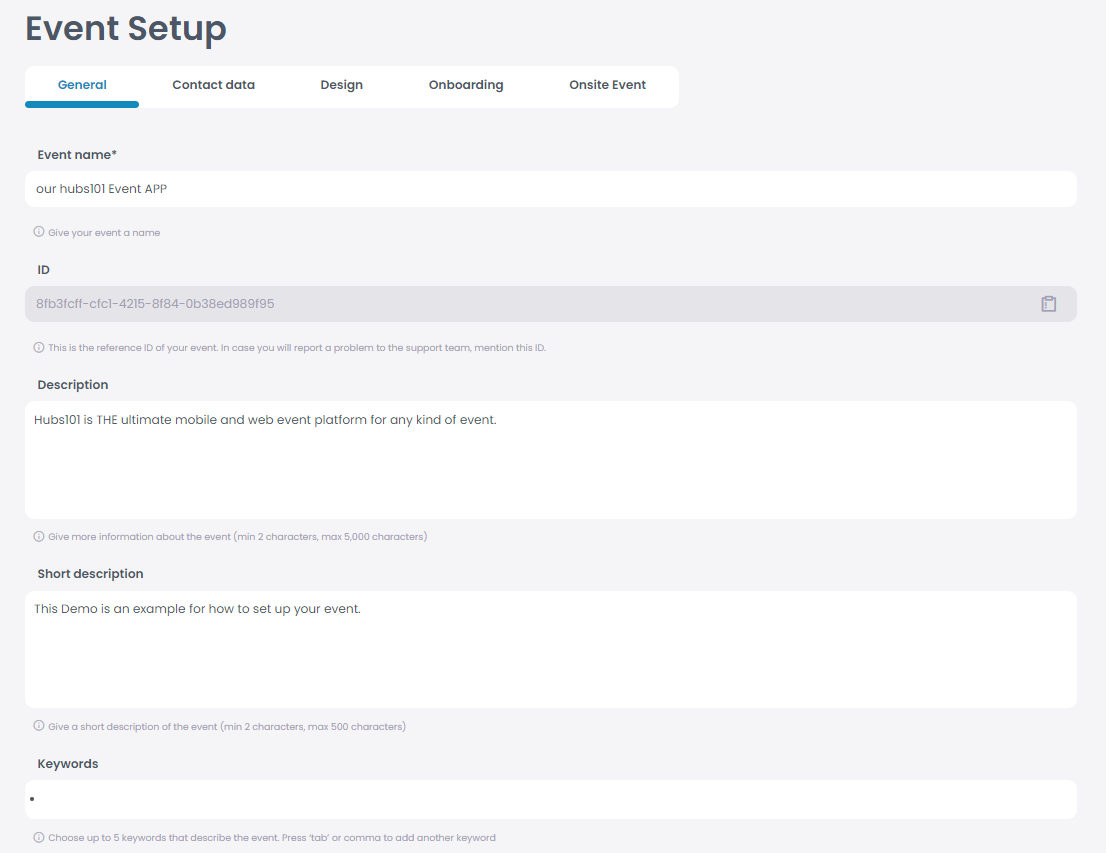
It is important to enter an event title that fits your event.
If you want you can add some information about your event to promote it. Under the field “Description” you can use up to 5000 characters to describe your event.
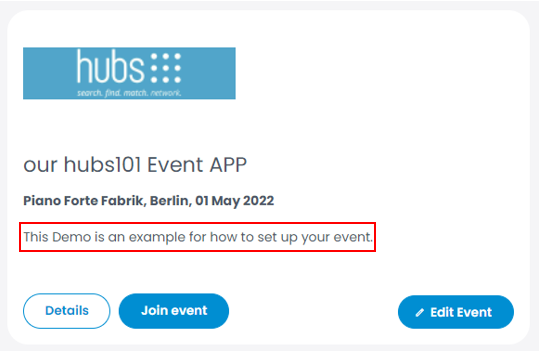
The field below with the name “Short description” is meant to briefly explain your event within a few sentences. The short description will be displayed in the event overview.
1. Add a Language and a time zone
Under “Event Setup” and “General” you can change or choose a language or a time zone. Click “Language” and choose the language in which your event will be held. If you click on “Time zone” you need to select the time zone in which the event will take place.

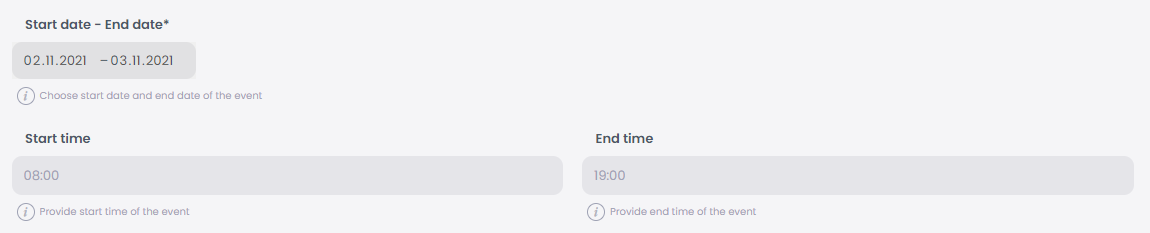
2. Select a date and a start and end time
Click “Event Setup” in the menu and “General” in the top bar.
Scroll down a little until you find the fields “Start date – End date”, “Start time” and “End time”. Set the date of your event on the field “Start date – End date”, as well as the time of your event on the field below.
You can change the event dates as long as the event has not started. To do so, unpublish the event and save the change. Update the page, and now you you can edit the fields with the new dates. Publish the event again, and once all is done click “Save”.
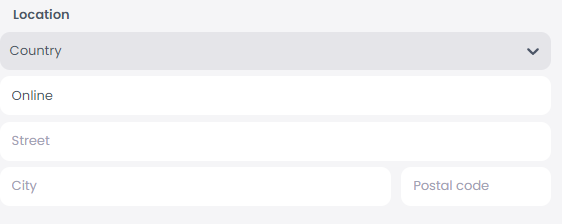
3. Add a Location
After the date and time have been set, it is important to add a location for your event, you may find the location section just under the time field.
If your event is virtual then set the location of your company, or write “Online” under “Venue”.
Go to “Event Setup” > “General” and scroll down to “Event Opening”.
The event opening is a date before the event start date, which defines the point when all functionalities in the app and the attendee list will be available.
At the opening date, an email is sent out to all confirmed and approved event attendees. If no opening date is defined, all functionalities are available as
usual.

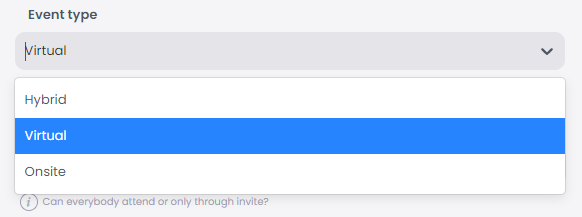
Does your event take place online, in presence or hybrid style?
You can choose between one of these three types by going to “Event Setup” > “General” and scrolling down.
Once you have reached the last section you can set your event type. The type has no impact on the app functionalities.
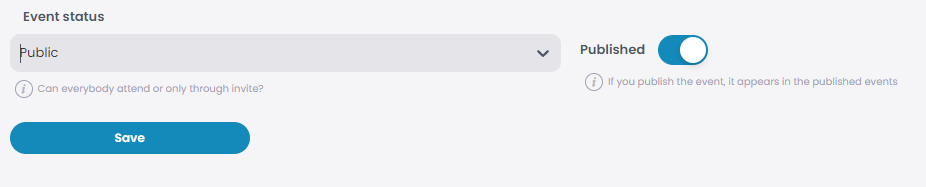
You can choose whether your event should be a private or a public event.
To do this, go to “Event Setup” and under “General” scroll down to the end.
There you will find the field “Event status”. If you click on the small arrow a small list opens with the three options “Public” “Private” or “Event”, set your status, publish your event by dragging the small bar to published, and click “Save”.
Once the event is published, all functionalities in the event are active, e.g. tracking of livestream attendees. For more information click here.